
基于cloudflare worker与R2存储桶的TG图床机器人,将免费贯彻到底
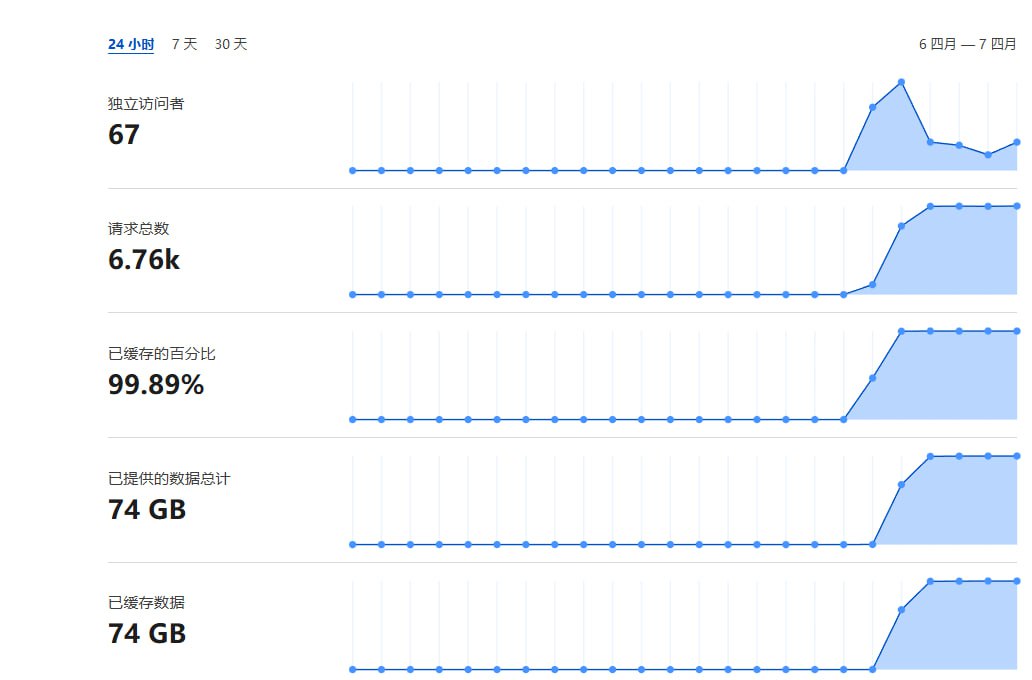
图床存储在R2存储桶中,提供免费的10GB容量,个人用户足够使用。配置了缓存规则,因此不需要担心刷读取次数问题。无需使用服务器,避免了运维成本。支持上传 JPG 和 PNG 格式的图片,并且支持从 Telegram 发送原图。
修改自:https://www.nodeseek.com/post-170862-1
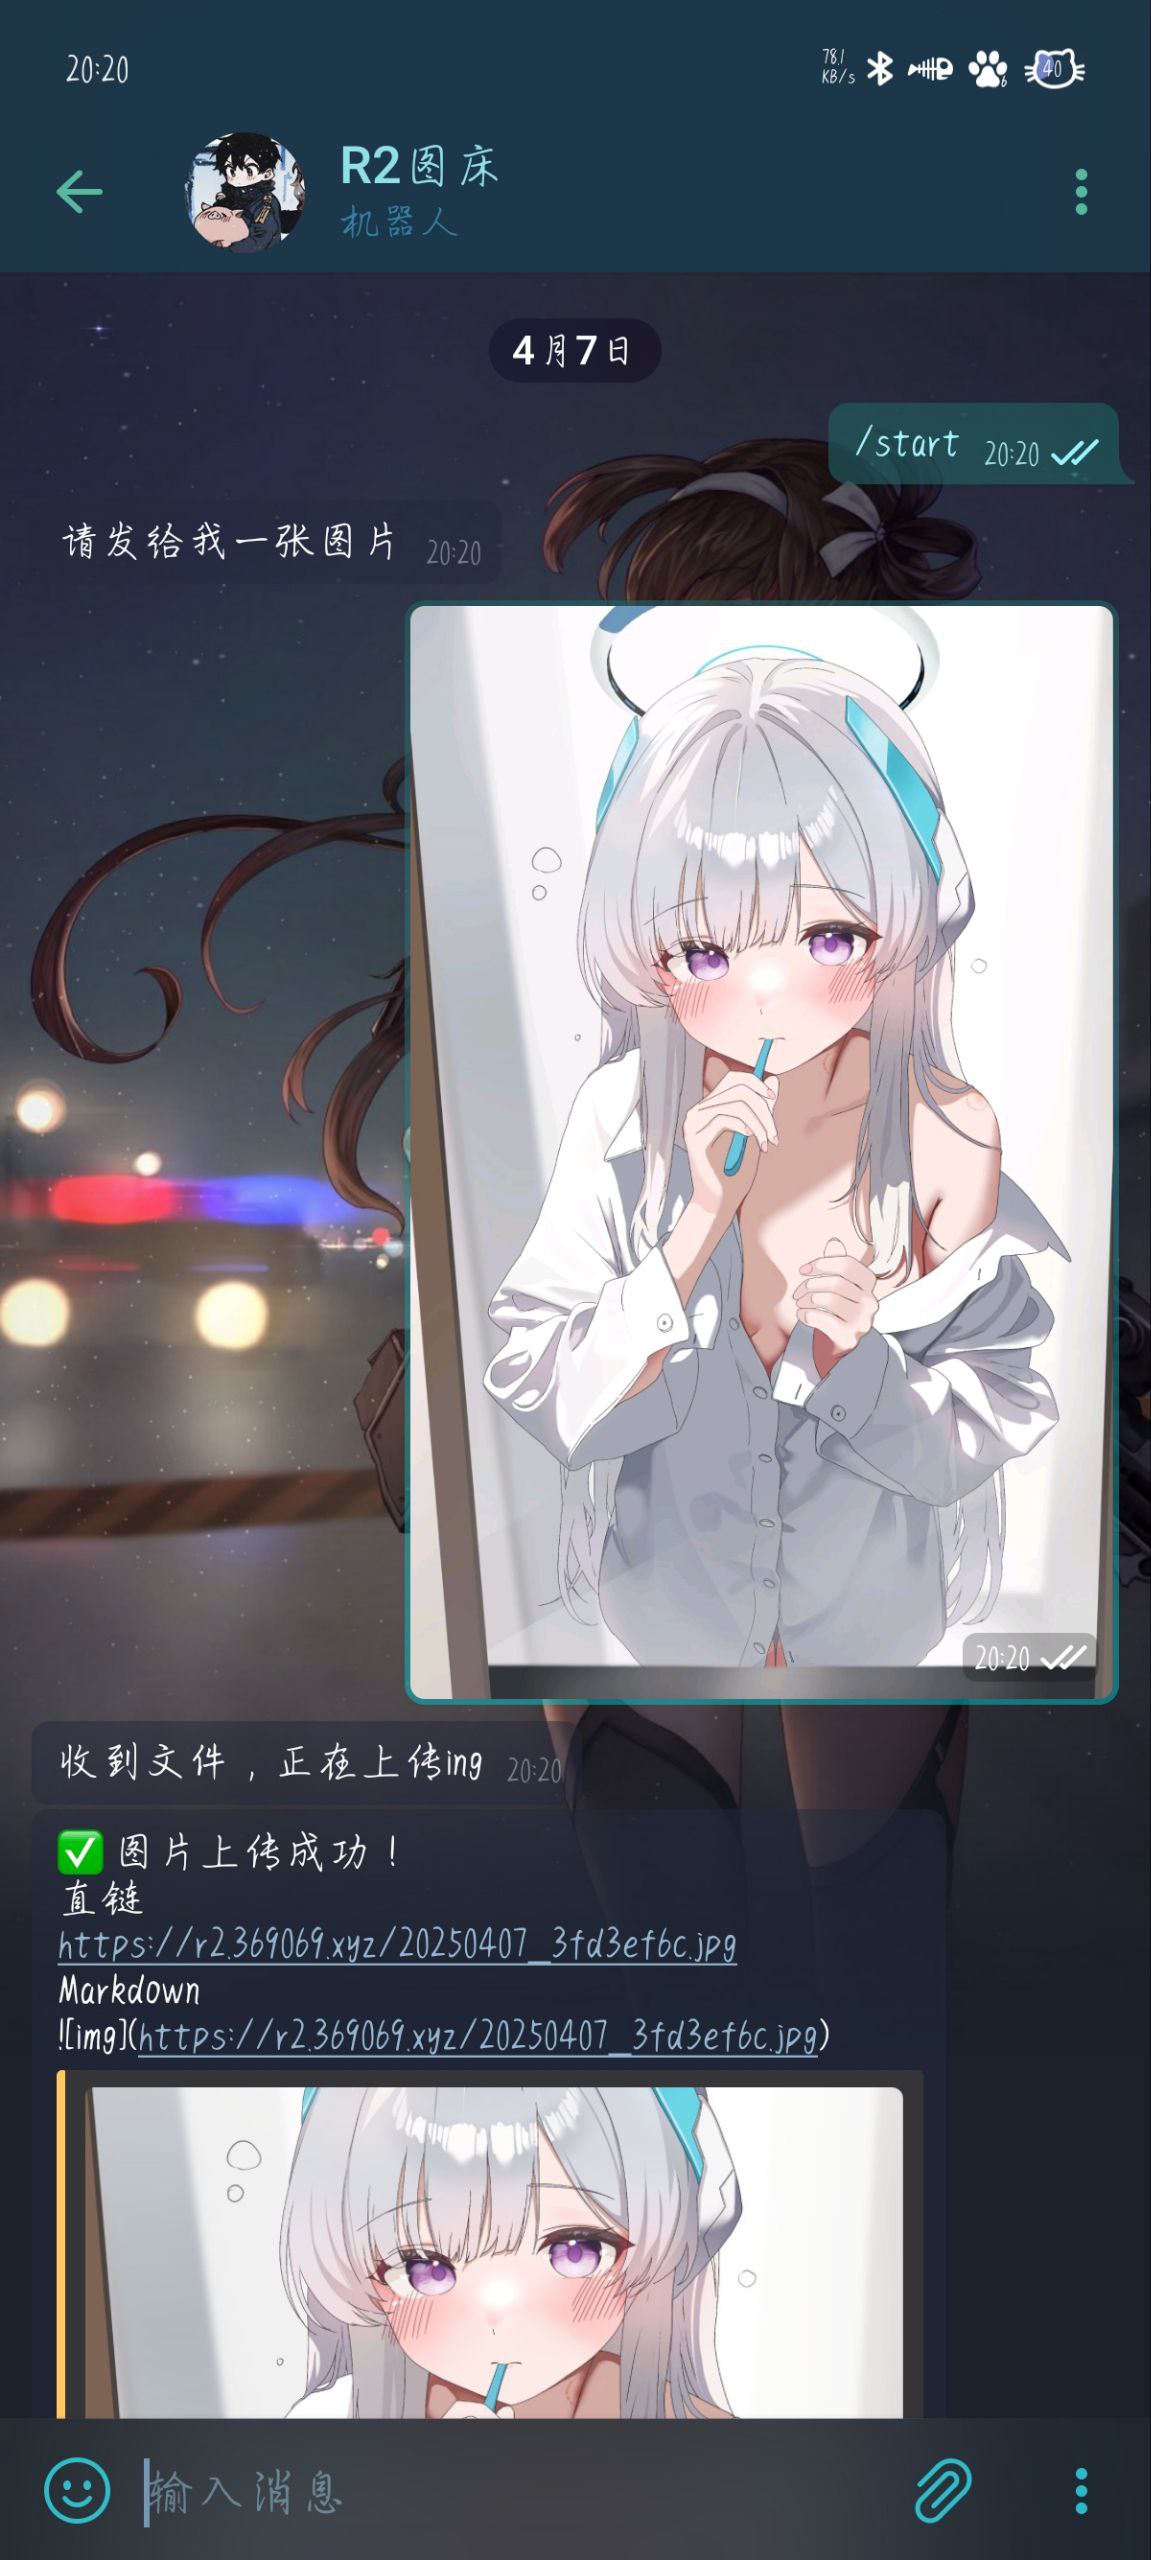
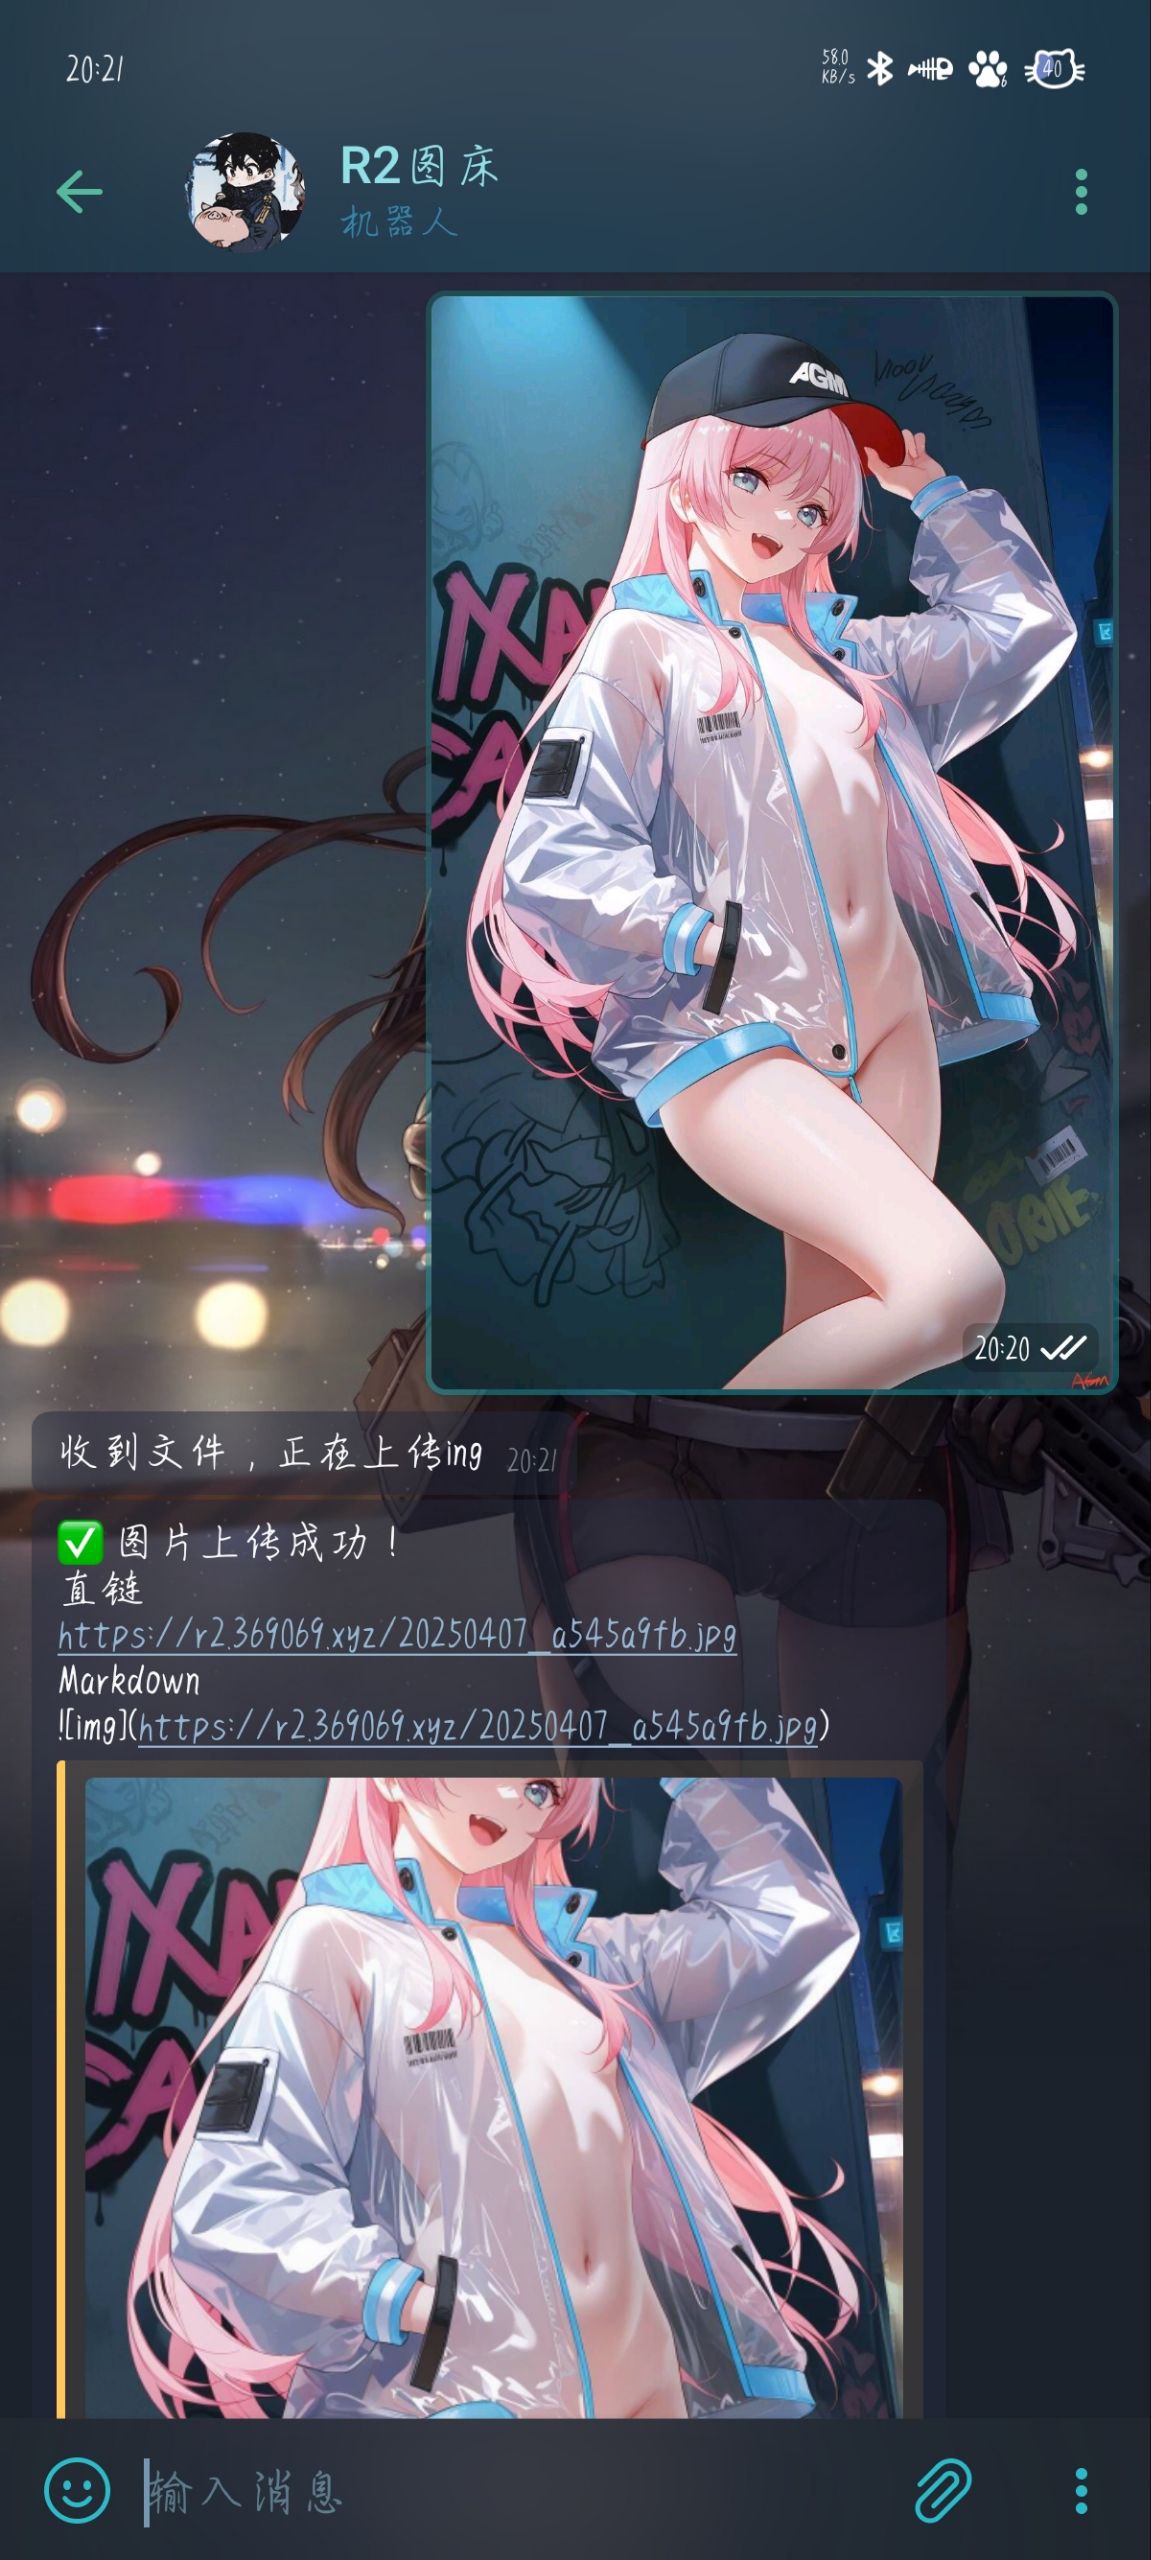
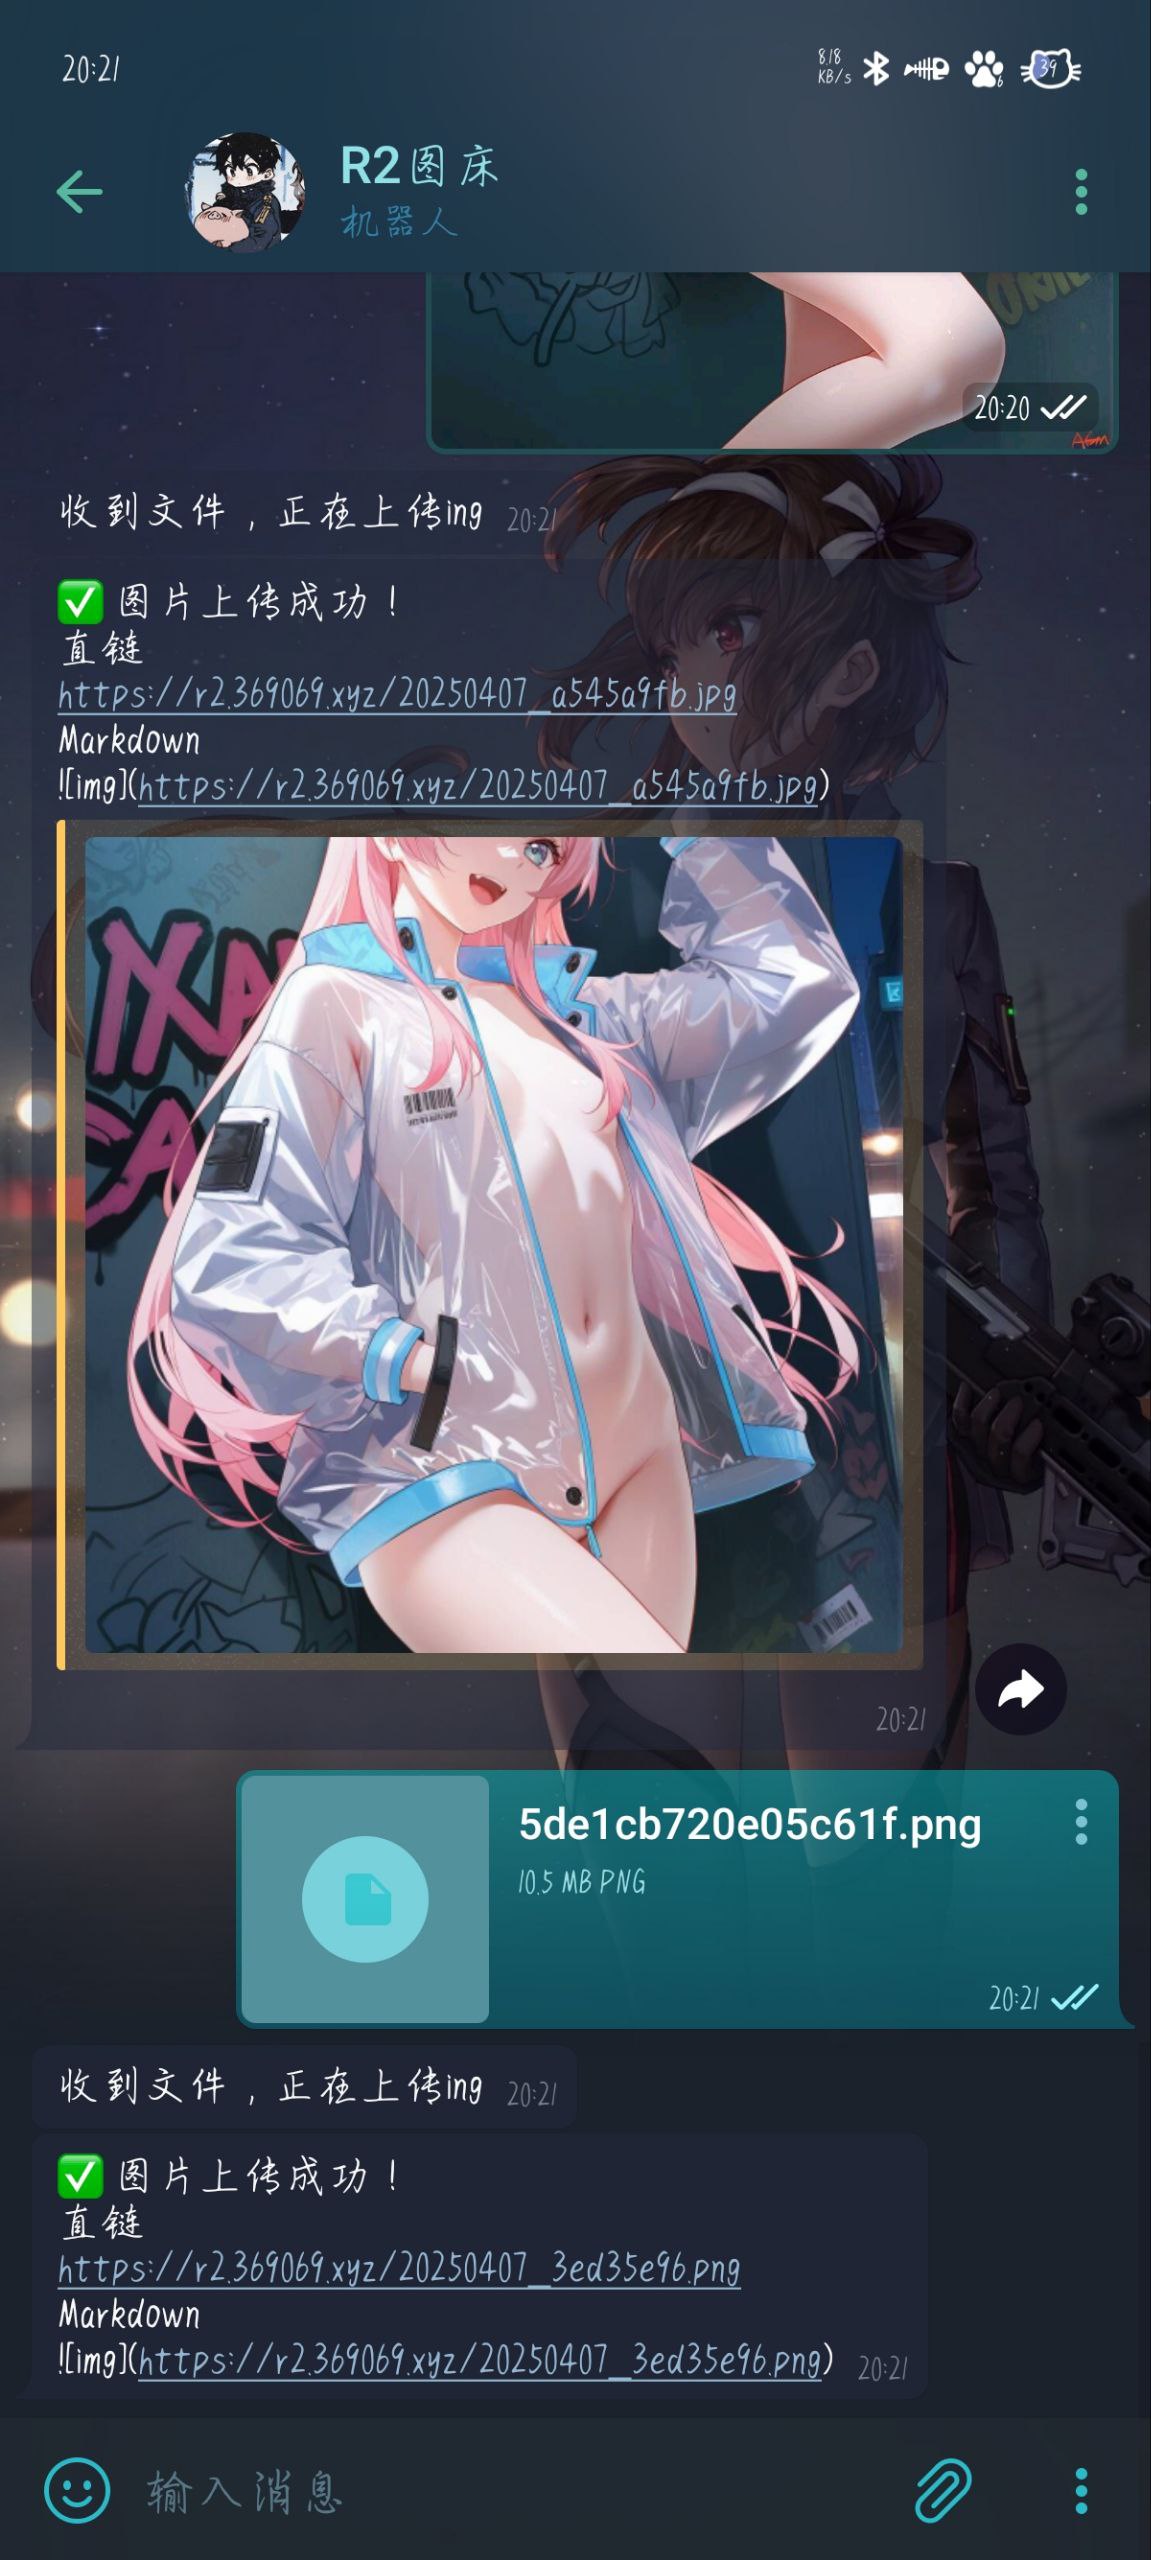
预览
步骤指南
第一步:获取 Telegram 机器人 Token 和用户 ChatID
第二步:创建 R2 存储桶
- 访问 Cloudflare Dashboard。
- 创建一个 R2 存储桶,名字可以随意设置,完成后添加一个域名。
第三步:创建 Cloudflare Worker
- 在 Cloudflare 中创建一个空白 Worker,名字可以随意设置。
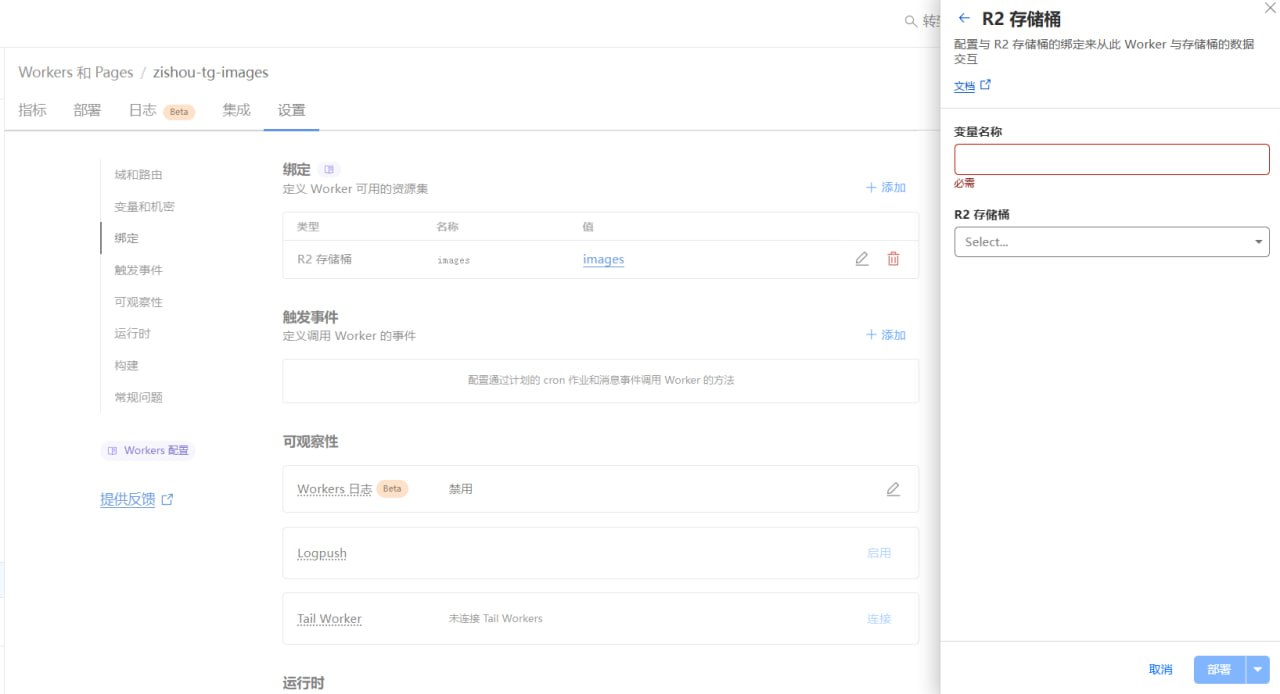
第四步:绑定 R2 存储桶
-
在 Cloudflare Worker 的设置中,选择绑定 R2 存储桶,名称可以随意设置。
第五步:编辑 Worker 代码
- 编辑 Worker 代码,替换以下变量为对应的值:
TELEGRAM_BOT_TOKEN:填入你的 Telegram 机器人 Token。CHAT_ID:填入可以访问机器人的用户 ID(可以填多个)。BUCKET_NAME:填入你绑定的 R2 存储桶变量名。BASE_URL:填入你的 R2 存储桶访问域名。如果使用反向代理,可以填入反向代理的域名。
- 完整的 Worker 代码如下:
// Created by rocket, the author of 111666.best
// Original link: https://www.nodeseek.com/post-170862-1
// 2025-04-07修改
// https://github.com/xinycai/
const TELEGRAM_BOT_TOKEN = "76xxxxxxx:AAHxxxxxxxxxxxxxxxxxxxRXdOUzJQ"; //填入TG机器人token
const CHAT_ID = ["5xxxxxx63"]; // 填入可以访问机器人的用户ID,可以填入多个["xxxxxxxxx", "xxxxxxxx"]
const BUCKET_NAME = "xxxxx"; // 填入绑定的R2存储库变量名
const BASE_URL = "https://xxxxxx.xx" // 填入自己的R2的访问域名,如果反向代理了R2,可以填入反向代理的域名
export default {
async fetch(request, env) {
const TELEGRAM_API_URL = `https://api.telegram.org/bot${TELEGRAM_BOT_TOKEN}`;
const url = new URL(request.url);
async function handleMediaUpload(chatId, fileId, isDocument = false) {
try {
await sendMessage(chatId, '收到文件,正在上传ing', TELEGRAM_API_URL);
const fileUrl = await getFileUrl(fileId, TELEGRAM_BOT_TOKEN);
const uploadResult = await uploadImageToR2(fileUrl, env[BUCKET_NAME], isDocument);
if (uploadResult.ok) {
const imageUrl = `${BASE_URL}/${uploadResult.key}`;
let mes = `✅ 图片上传成功!\n直链\n${imageUrl}\nMarkdown\n`;
await sendMessage(chatId, mes, TELEGRAM_API_URL);
} else {
await sendMessage(chatId, uploadResult.message, TELEGRAM_API_URL);
}
} catch (error) {
console.error('处理文件失败:', error);
await sendMessage(chatId, '文件处理失败,请稍后再试。', TELEGRAM_API_URL);
}
}
async function uploadImageToR2(imageUrl, bucket, isDocument = false) {
try {
const response = await fetch(imageUrl);
if (!response.ok) throw new Error('下载文件失败');
const buffer = await response.arrayBuffer();
const uint8Array = new Uint8Array(buffer);
const detectedType = detectImageType(uint8Array);
if (!detectedType) {
return {
ok: false,
error: 'UNSUPPORTED_TYPE',
message: '只支持 JPG/PNG 格式文件'
};
}
const date = new Date();
const formattedDate = `${date.getFullYear()}${String(date.getMonth() + 1).padStart(2, '0')}${String(date.getDate()).padStart(2, '0')}`;
const shortUUID = crypto.randomUUID().split('-')[0];
const key = `${formattedDate}_${shortUUID}.${detectedType.ext}`;
await bucket.put(key, buffer, {
httpMetadata: {
contentType: detectedType.mime
},
});
return {ok: true, key};
} catch (error) {
console.error('上传失败:', error);
return {
ok: false,
error: 'SERVER_ERROR',
message: '文件上传失败,请稍后再试。'
};
}
}
// 设置 Webhook
if (url.pathname === '/setWebhook') {
const webhookUrl = `${url.protocol}//${url.host}/webhook`;
const webhookResponse = await setWebhook(webhookUrl, TELEGRAM_API_URL);
if (webhookResponse.ok) {
return new Response(`Webhook set successfully to ${webhookUrl}`);
}
return new Response('Failed to set webhook', {status: 500});
}
if (url.pathname === '/webhook' && request.method === 'POST') {
try {
const update = await request.json();
if (!update.message) return new Response('OK');
const chatId = update.message.chat.id;
if (!CHAT_ID.includes(chatId.toString())) {
return new Response('Unauthorized access', { status: 403 });
}
// 处理文本消息
if (update.message.text) {
await sendMessage(chatId, '请发给我一张图片', TELEGRAM_API_URL);
return new Response('OK');
}
// 处理文档文件
if (update.message.document) {
const doc = update.message.document;
const fileName = doc.file_name || '';
const fileExt = fileName.split('.').pop().toLowerCase();
if (!['jpg', 'jpeg', 'png'].includes(fileExt)) {
await sendMessage(chatId, '不支持的文件类型,请发送 JPG/PNG 格式文件', TELEGRAM_API_URL);
return new Response('OK');
}
await handleMediaUpload(chatId, doc.file_id, true);
return new Response('OK');
}
if (update.message.photo) {
const fileId = update.message.photo.slice(-1)[0].file_id;
await handleMediaUpload(chatId, fileId);
return new Response('OK');
}
return new Response('OK');
} catch (err) {
console.error(err);
return new Response('Error processing request', {status: 500});
}
}
return new Response('Not found', {status: 404});
},
};
function detectImageType(uint8Array) {
// 检测 JPEG (FF D8 FF)
if (uint8Array.length >= 3 &&
uint8Array[0] === 0xFF &&
uint8Array[1] === 0xD8 &&
uint8Array[2] === 0xFF) {
return {mime: 'image/jpeg', ext: 'jpg'};
}
// 检测 PNG (89 50 4E 47 0D 0A 1A 0A)
const pngSignature = [0x89, 0x50, 0x4E, 0x47, 0x0D, 0x0A, 0x1A, 0x0A];
if (uint8Array.length >= pngSignature.length) {
const isPng = pngSignature.every(
(byte, index) => uint8Array[index] === byte
);
if (isPng) return {mime: 'image/png', ext: 'png'};
}
return null;
}
async function getFileUrl(fileId, botToken) {
const response = await fetch(
`https://api.telegram.org/bot${botToken}/getFile?file_id=${fileId}`
);
const data = await response.json();
return `https://api.telegram.org/file/bot${botToken}/${data.result.file_path}`;
}
async function sendMessage(chatId, text, apiUrl) {
await fetch(`${apiUrl}/sendMessage`, {
method: 'POST',
headers: {'Content-Type': 'application/json'},
body: JSON.stringify({
chat_id: chatId,
text: text,
}),
});
}
async function setWebhook(webhookUrl, apiUrl
) {
const response = await fetch(`${apiUrl}/setWebhook`, {
method: 'POST',
headers: {'Content-Type': 'application/json'},
body: JSON.stringify({url: webhookUrl}),
});
return response.json();
}
第六步:设置 Webhook
- 访问
https://你的worker域名/setWebhook完成设置。 - 现在你可以访问你的 Telegram 机器人,开始使用图床功能了。
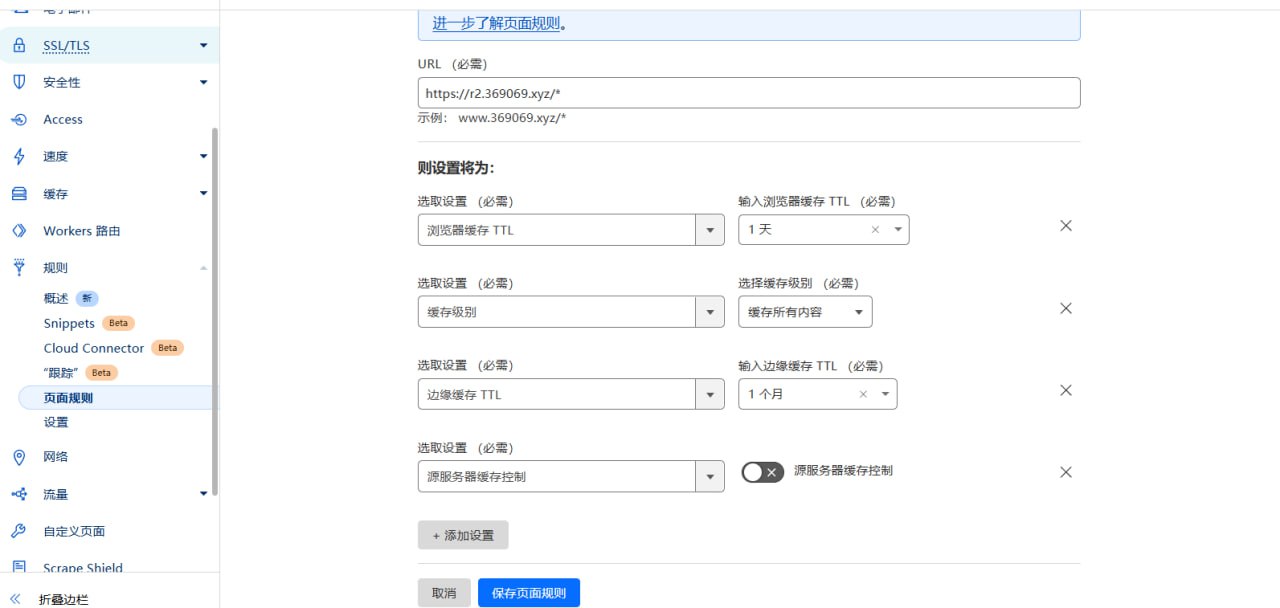
配置缓存(可选)
如果对你有用的话,麻烦点击下面的Github开源地址给我点个Star,感恩的心
本文链接:
/archives/B6zeISHE
版权声明:
本站所有文章除特别声明外,均采用 CC BY-NC-SA 4.0 许可协议。转载请注明来自
薪萤-博客!
喜欢就支持一下吧
打赏
 微信
微信
支付宝
 微信
微信
 支付宝
支付宝